How to configure Okta
Follow this step-by-step guide to configure the integration between Port and Okta.
In order to complete the process you will need to contact us, the exact information we need to provide, as well as the information Port requires from you is listed in this doc.
Port-Okta integration benefits
- Connect to the Port application via an Okta app.
- Your Okta teams will be synced with Port, automatically upon user sign-in.
- Set granular permissions on Port according to your Okta groups.
How to configure the Okta app integration for Port
Step #1: Create a new Okta application
- In the Admin Console, go to Applications -> Applications.
- Click
Create App Integration.

- Create an OIDC app integration. Select OIDC - OpenID Connect in the Wizard.
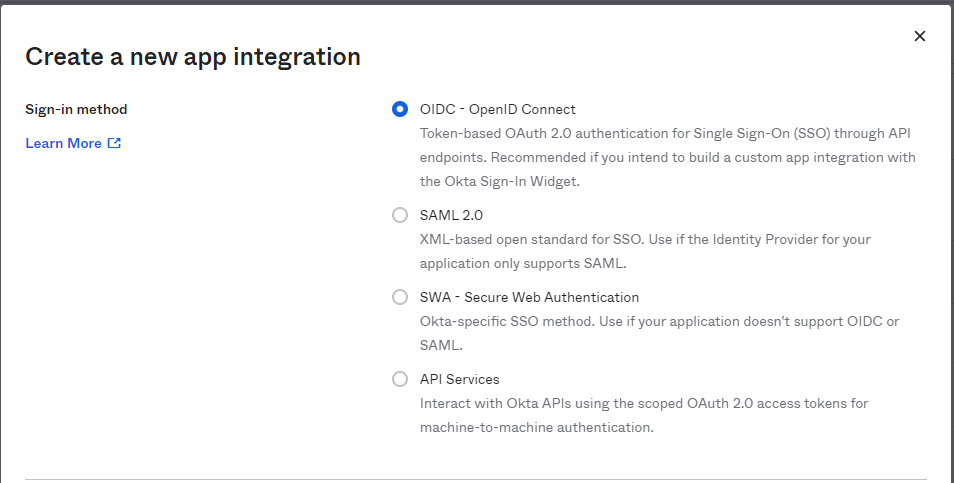
- Choose Single-Page application as your application type.

Click Next.
Step #2: Configure your Okta application
Under General Settings:
-
Choose an
app integration name(a specific name that will appear on your Okta apps). -
Add an application logo (optional).

-
Under
Grant typemark all options. -
Under
Sign-in redirect URIsset:https://auth.getport.io/login/callback.- The Sign-in redirect URI is where Okta sends the authentication response and ID token for the sign-in request.
-
Remove the sign-out redirect URIs.
-
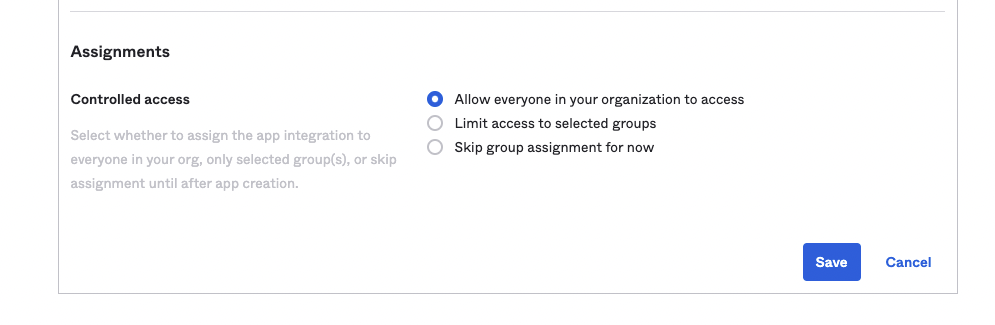
Under
Assignments: SetAllow everyone in your organization to access.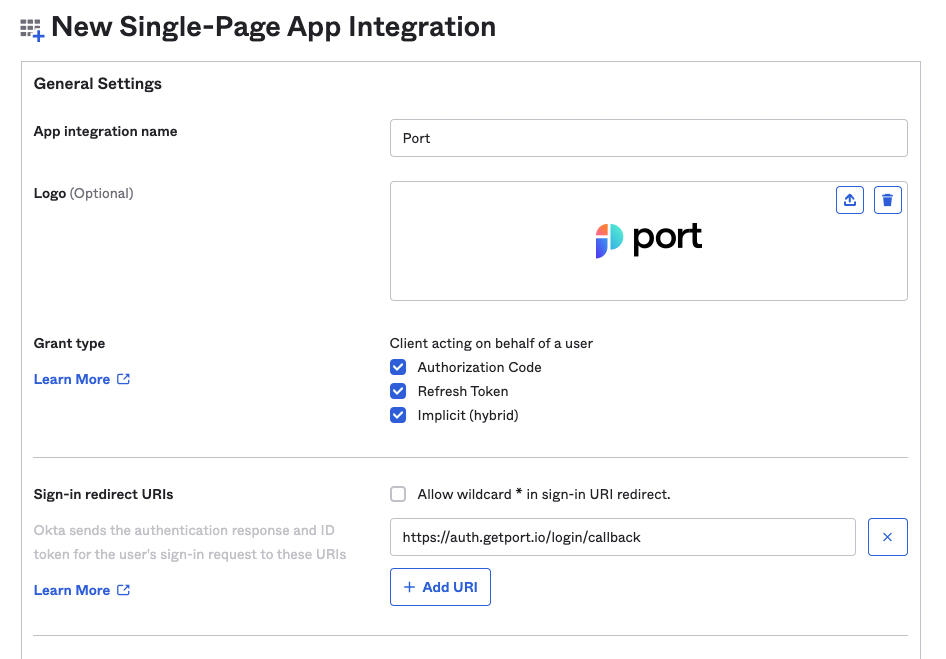
Step #3: Configure OIDC settings
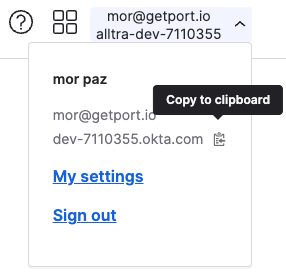
Get your Okta Domain by clicking on your user mail at the top-right corner of the Okta management interface, hovering on the okta domain (will be in the format {YOUR_COMPANY_NAME}.okta.com) and clicking on Copy to clipboard:
Under General tab:
-
Copy the
Client IDand send it to Port along with theOkta Domainfrom the previous step (on the slack channel/Intercom).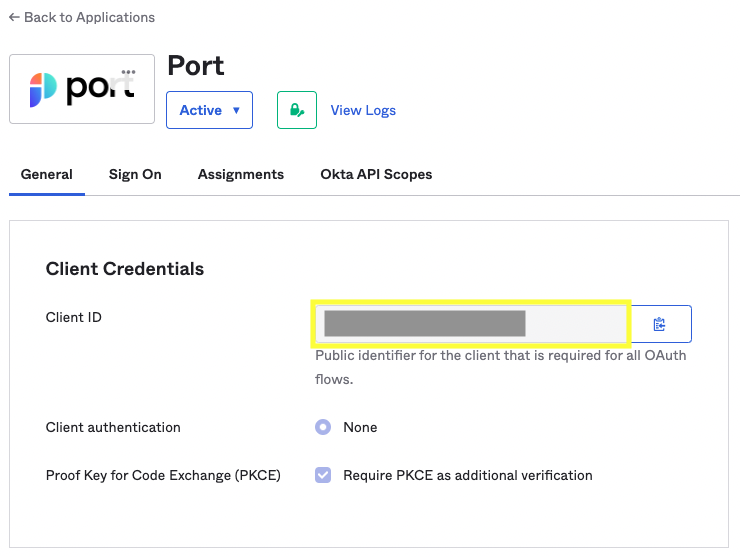
-
Click on the
Editbutton on theGeneral Settingstab.2.1 Set the
Login initiated byoption toEither Okta or App: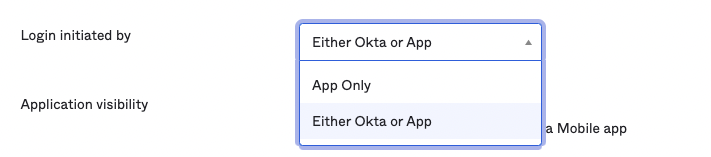
2.2 Check all the options in
Application visibility:
2.3 Check
Login flowto beRedirect to app to initiate login (OIDC Compliant)2.4 Under
initiate login URIpaste the following URI:https://auth.getport.io/authorize?response_type=token&client_id=96IeqL36Q0UIBxIfV1oqOkDWU6UslfDj&connection={CONNECTION_NAME}&redirect_uri=https%3A%2F%2Fapp.getport.ionoteWe will provide your
{CONNECTION_NAME}(Contact us on Slack/Intercom).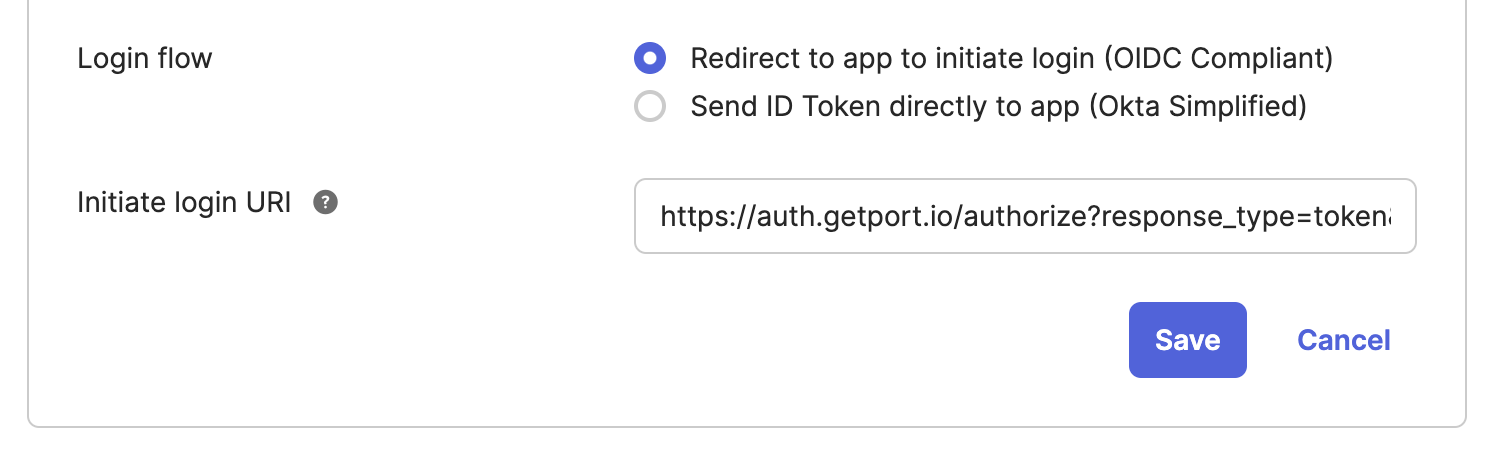
2.5 Click
Saveand you’re done! now you’ll have the Port app on your Okta dashboard.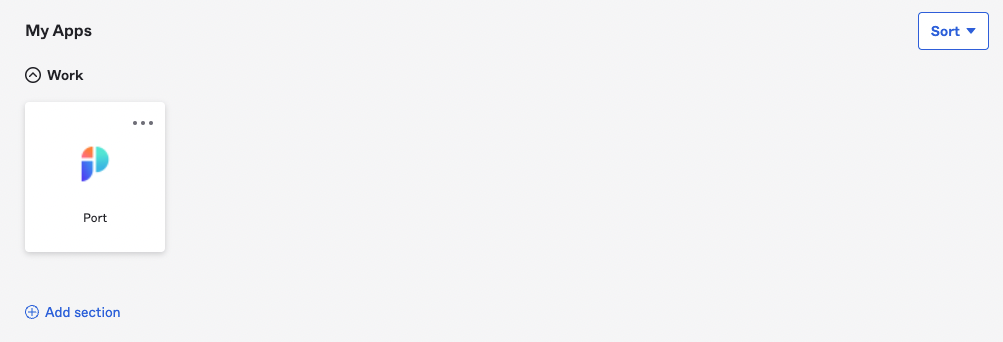
How to allow pulling Okta groups to Port
This stage is OPTIONAL and is required only if you wish to pull all of your Okta groups into Port inherently.
Benefit: managing permissions and user access on Port.
Outcome: for every user that logs in, we will automatically get their associated Okta groups, according to your definition in the settings below.
To allow automatic Okta group support in Port, please follow these steps:
-
Under the
Applicationpage, select Port App and go to theSign Ontab: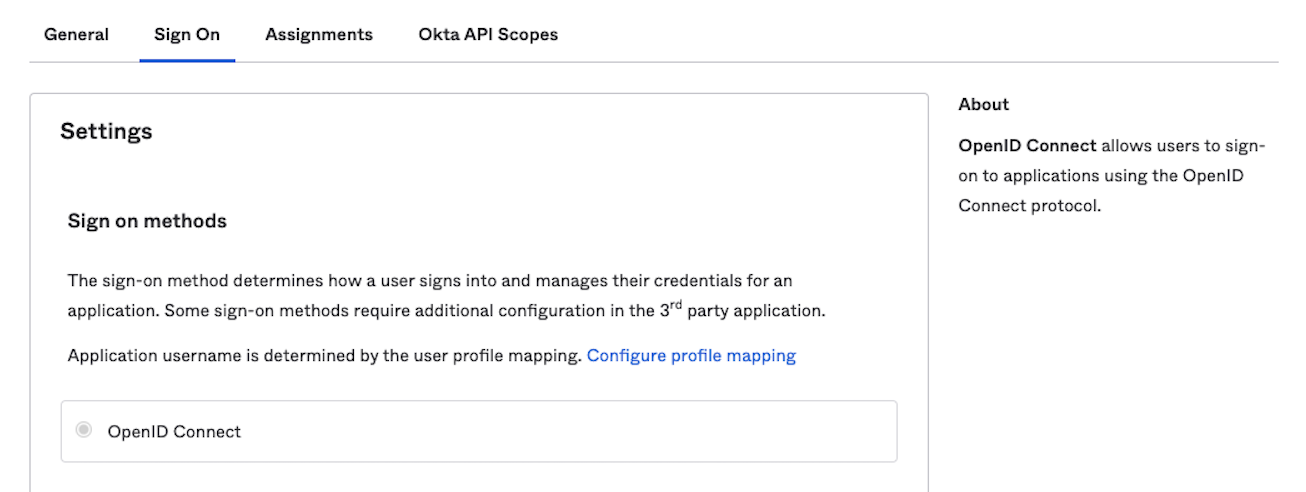
-
Under
OpenID Connect TokenclickEdit: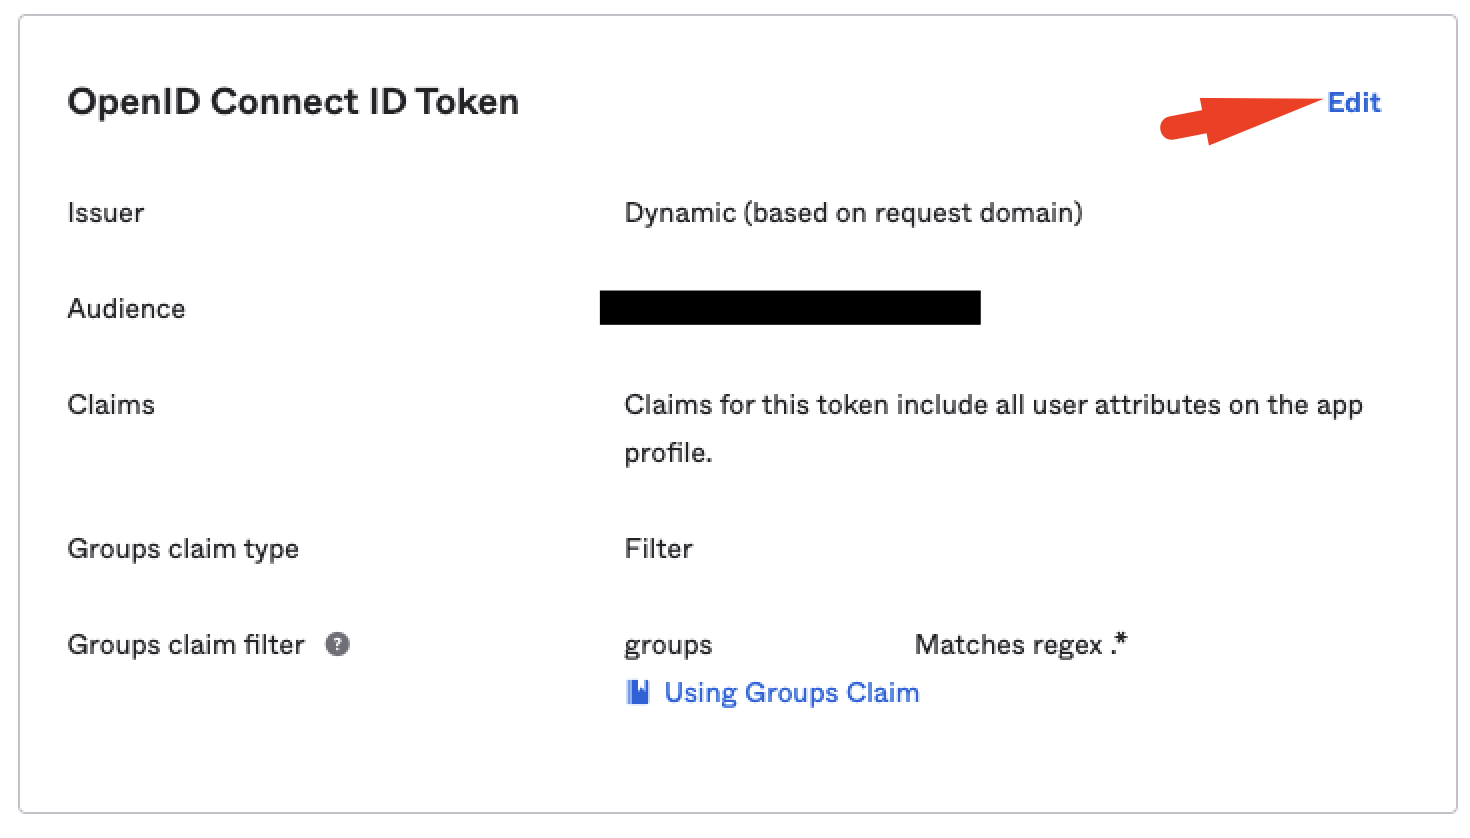
-
Add a
Groups claim typeand choose the optionfilter, then:3.1 Value =
groups3.2 Select the required regex phrase to your needs.
noteTo import all groups, insert
Matches regexwith the.*value.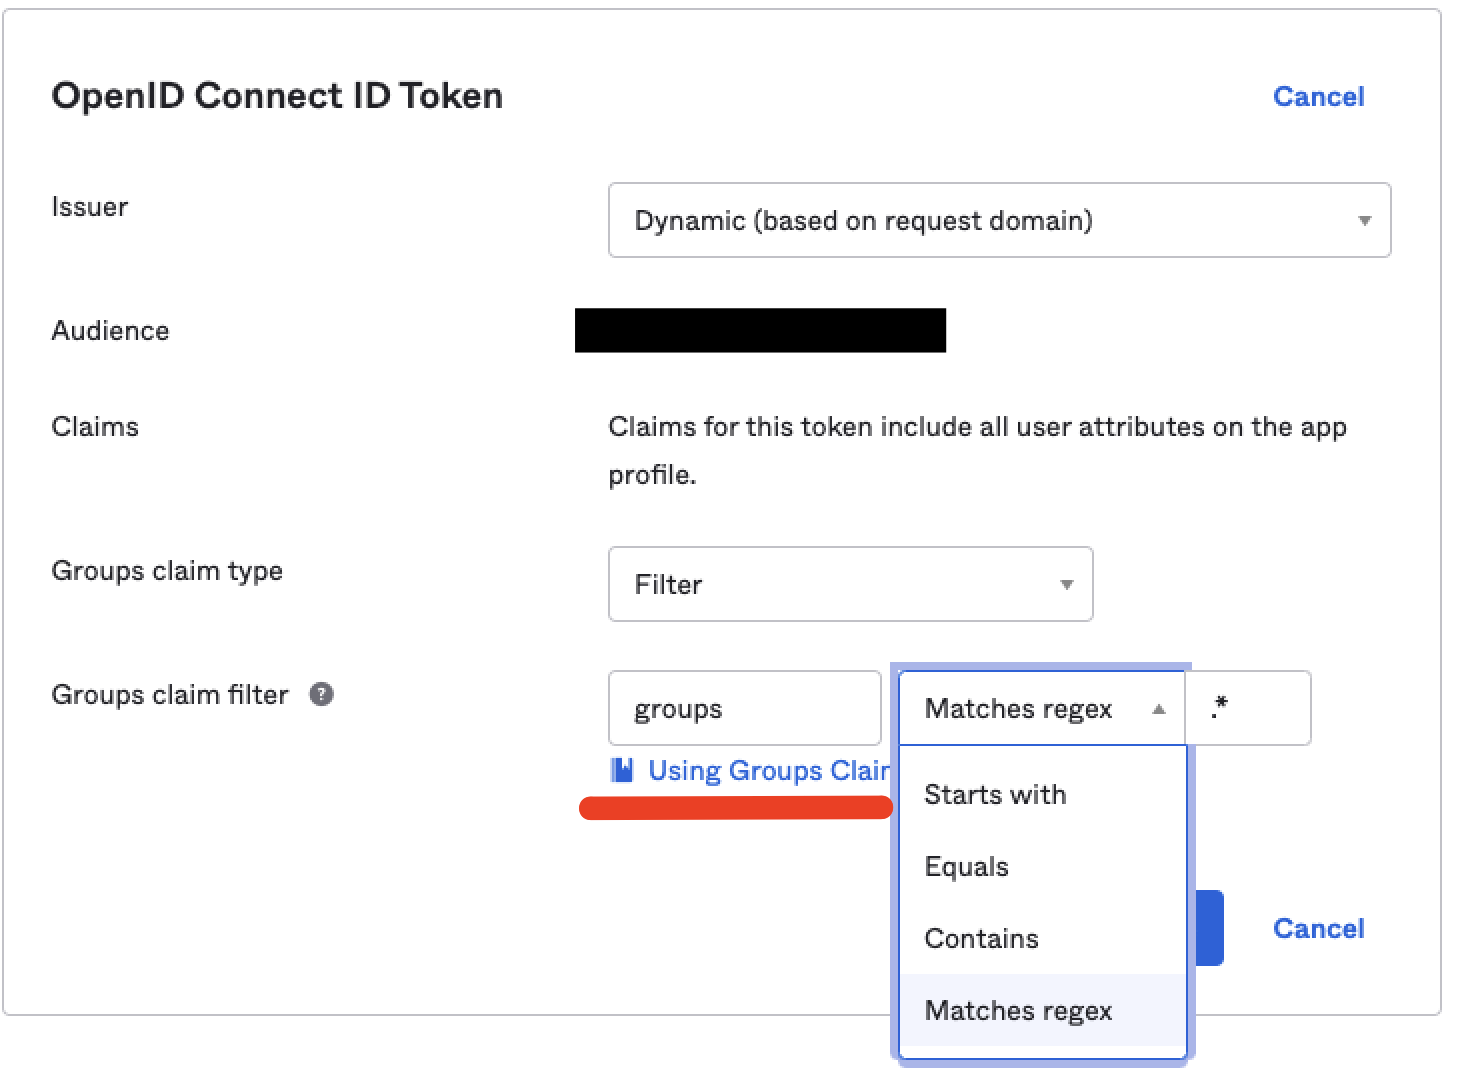
3.3 Click
Save.