Jenkins Deployment
Port provides an Ocean integration for Jenkins, which allows you to automatically sync your Jenkins resources with Port and provides more configuration options. This is the recommended way to integrate Port with Jenkins.
If you would still prefer to use Port's API, follow this page.
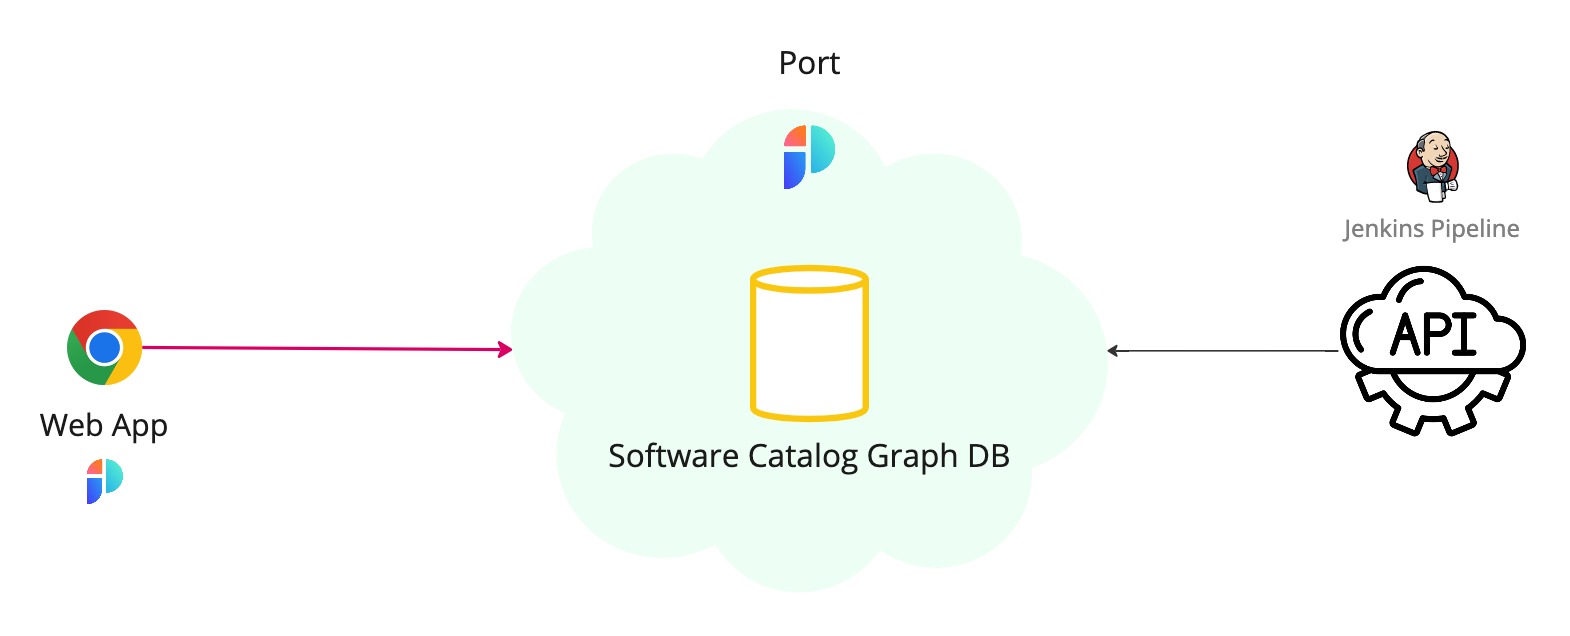
Using Jenkins build, you can easily create/update and query entities in Port.
💡 Common Jenkins build usage
Port's API allows for easy integration between Port and your Jenkins builds, for example:
- Report the status of a running CI job;
- Update the software catalog about a new build version for a microservice;
- Get existing entities.
Prerequisites
- This example makes use of the following Jenkins plugins:
- Plain Credentials (>=143.v1b_df8b_d3b_e48)
- HTTP Request (>=1.16)
- The following methods are used in the example, and these signatures need to be approved:
new groovy.json.JsonSlurperClassic
method groovy.json.JsonSlurperClassic parseText java.lang.String
-
Add your
PORT_CLIENT_IDandPORT_CLIENT_SECRETas Jenkins Credentials to use them in your CI pipelines. -
Make sure you have an existing Blueprint in your Port installation to create/update entities.
Set up
All Port API routes used in this guide can be found in Port's API documentation.
To interact with Port inside your Jenkins builds, follow these steps:
Fetching your API token
The following snippet shows you how to pass your PORT_CLIENT_ID and PORT_CLIENT_SECRET credentials to your build using withCredentials, which utilizes the Plain Credentials plugin to bind credentials to variables.
The snippet provided also includes saving Port's API URL as an environment variable for use in future stages and makes a request to Port's API using the credentials to get an access token:
Get API token
pipeline {
  agent any
  environment {
    API_URL = "https://api.getport.io"
  }
...
    withCredentials([
        string(credentialsId: 'port-client-id', variable: 'PORT_CLIENT_ID'),
        string(credentialsId: 'port-client-secret', variable: 'PORT_CLIENT_SECRET')
        ]){
            // Token request body
            auth_body = """
                {
                    "clientId": "${PORT_CLIENT_ID}",
                    "clientSecret": "${PORT_CLIENT_SECRET}"
                }
                """

            // Make a request to fetch Port API's token
            token_response = httpRequest contentType: 'APPLICATION_JSON',
                httpMode: "POST",
                requestBody: auth_body,
                url: "${API_URL}/v1/auth/access_token"

            // Parse the response to get the accessToken
            def slurped_response = new JsonSlurperClassic().parseText(token_response.content)
            def token = slurped_response.accessToken // Use this token for authentication with Port
            ...
        }
Working with Port's API
Add the following code to your Jenkins build, to either create/update an entity, or get an existing one:
- Create/Update
- Get
import groovy.json.JsonSlurperClassic
...
    auth_body = """
        {
            "clientId": "${PORT_CLIENT_ID}",
            "clientSecret": "${PORT_CLIENT_SECRET}"
        }
        """
    token_response = httpRequest contentType: 'APPLICATION_JSON',
        httpMode: "POST",
        requestBody: auth_body,
        url: "${API_URL}/v1/auth/access_token"
    def slurped_response = new JsonSlurperClassic().parseText(token_response.content)
    def token = slurped_response.accessToken // Port's access token

    entity_body = """
        {
            "identifier": "example-entity",
            "properties": {
              "myStringProp": "My value",
              "myNumberProp": 1,
              "myBooleanProp": true,
              "myArrayProp": ["myVal1", "myVal2"],
              "myObjectProp": {"myKey": "myVal", "myExtraKey": "myExtraVal"}
            }
        }
    """
    // request url : {API_URL}/blueprints/<blueprint_name>/entities/<entity_name>
    response = httpRequest contentType: "APPLICATION_JSON", httpMode: "POST",
            url: "${API_URL}/v1/blueprints/blueprint/entities?upsert=true&merge=true",
            requestBody: entity_body,
            customHeaders: [
                [name: "Authorization", value: "Bearer ${token}"],
            ]
    println(response.content)
import groovy.json.JsonSlurperClassic
...
    auth_body = """
        {
            "clientId": "${PORT_CLIENT_ID}",
            "clientSecret": "${PORT_CLIENT_SECRET}"
        }
        """
    token_response = httpRequest contentType: 'APPLICATION_JSON',
        httpMode: "POST",
        requestBody: auth_body,
        url: "${API_URL}/v1/auth/access_token"
    def slurped_response = new JsonSlurperClassic().parseText(token_response.content)
    def token = slurped_response.accessToken // Port's access token

    response = httpRequest contentType: 'APPLICATION_JSON', httpMode: "GET",
            url: "${API_URL}/v1/blueprints/blueprint/entities/entity-example",
            customHeaders: [
                [name: "Authorization", value: "Bearer ${token}"],
            ]
    println(response.content)
The baseUrl, port_region, port.baseUrl, portBaseUrl, port_base_url and OCEAN__PORT__BASE_URL parameters are used to select which instance or Port API will be used.
Port exposes two API instances, one for the EU region of Port, and one for the US region of Port.
- If you use the EU region of Port, available at https://app.getport.io, your Port API URL is
https://api.getport.io - If you use the US region of Port, available at https://app.us.getport.io, your Port API URL is
https://api.us.getport.io
Examples
Refer to the examples page for practical examples for using Port with Jenkins.