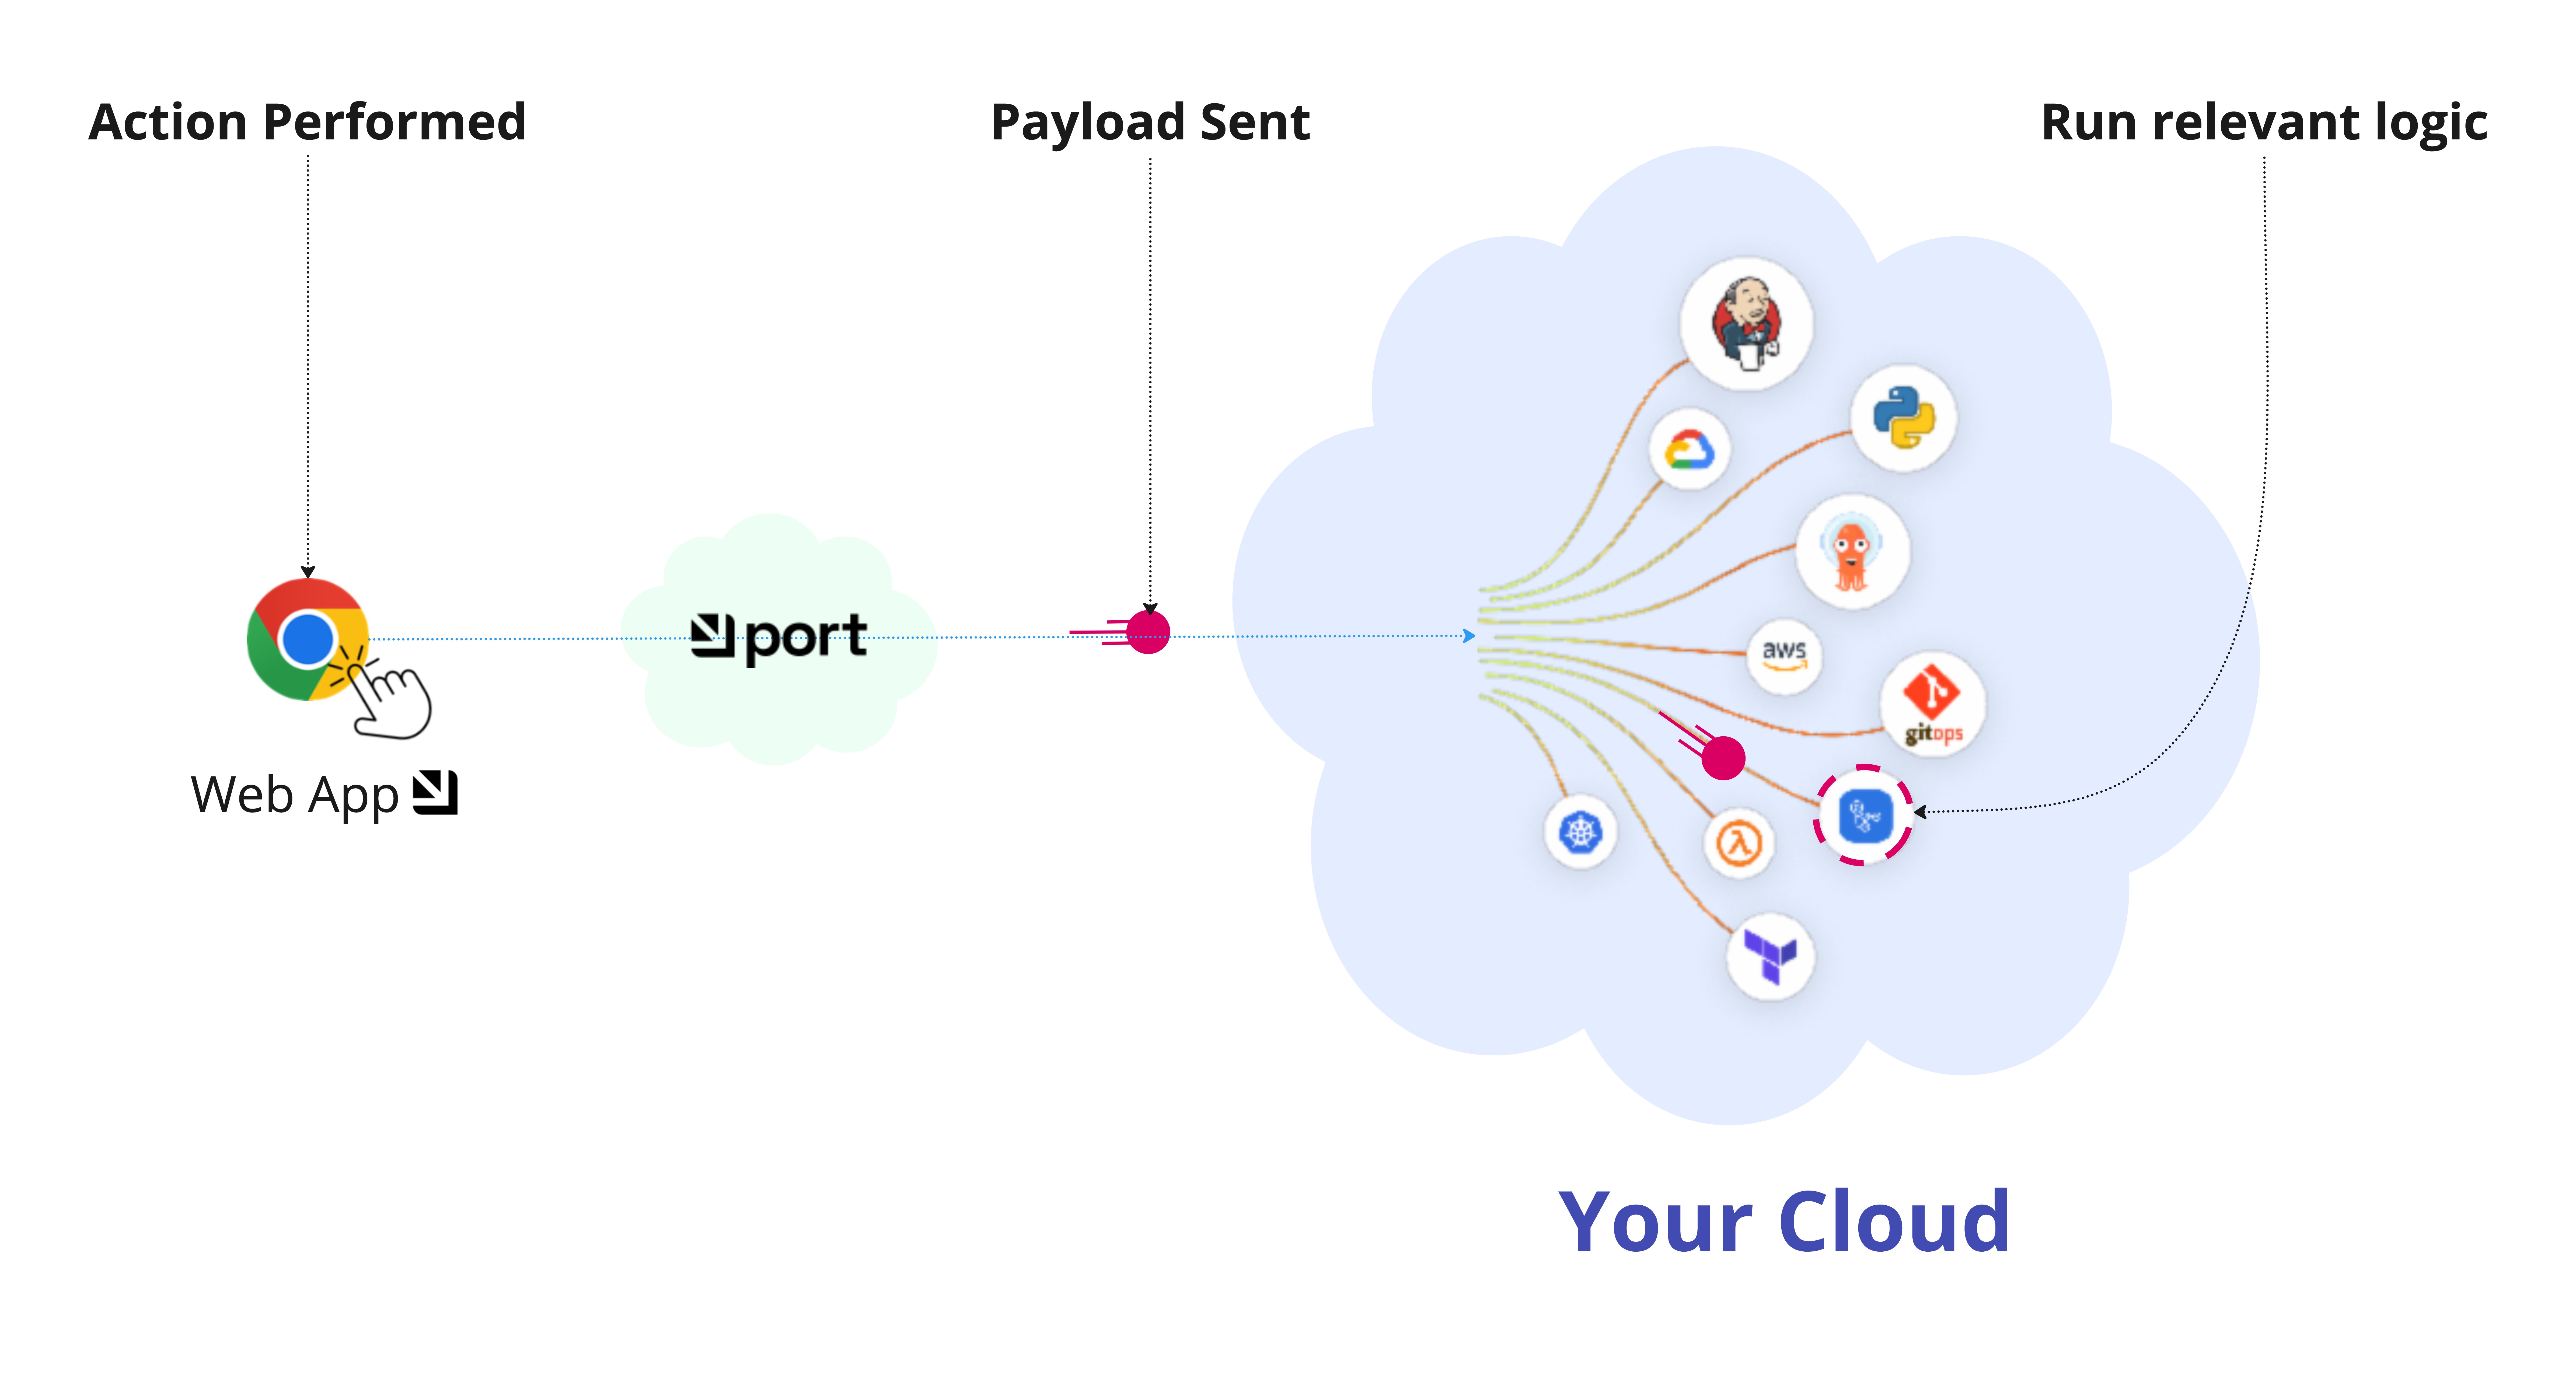
Self-service actions
Drive developer productivity by allowing developers to use self-service actions like scaffolding a service or provisioning a cloud resource. Developer self-service drives consistency and repeatability and ensures that their routines are intuitive and clear, all with guardrails like manual approvals or consumption policies to comply with organizational standards.
Port's action model is designed to be flexible and can be used to cover a wide range of use-cases:
- Unopinionated - flexible UI to create a wide range of self-service actions.
- Leverages existing infrastructure and automations as the backend of your actions.
- Loosely coupled to your infrastructure and architecture.
- Stateful - every invoked action affects the software catalog by adding/modifying/deleting one or more entities.
- Secure by design - does not require keys to sensitive infrastructure by using an event-based model. All actions are audited and can include guardrails like manual approval and TTL.
💡 Common self-service actions
- Scaffold a new service.
- Create a cloud resource.
- Provision a temporary developer environment.
- Redeploy an image tag.
- Rollback a running service.
- Change a deployment's replica count.
In our live demo, you can see examples for self-service experiences. 🎬
How does it work?
- A user executes an action from Port's UI interface.
- A pre-defined payload containing any desired metadata about the action and its inputs is sent to your infrastructure.
- A job is triggered and the user gets a continuous indication about its progress.
- Once the action is running, you can use Port's API to update Port on its status and provide information such as logs and links to the resulting handlers.

Create a self-service action
Creating a self-service experience in port is very similar to a traditional frontend-backend model. Port gives you no-code components to create the experience you want for your users and integrates with existing workflows and automations provided by you.
Self-service actions are created and managed in the Self-service page of your portal.
To begin, click on the + Action button in the top right corner, then follow the steps below.
Besides Port's UI, you can also create and manage self-service actions using Port's API, or Terraform.
Set up the action's frontend
Choose the name of the action, its icon, and the inputs you would like the user to fill out when executing it. Port supports a wide variety of input types, including more advanced conditions to best fit the experience you want for your users.
See Set up frontend for instructions and examples.
Set up backend
Set up the logic responsible to handle the action after it is executed.
In this step you can also define the payload that will be sent to your handler upon execution.
The backend logic is yours, so it can do whatever you need it to do. Port supports many different backends for actions, offering a secure and compliant architecture.
As part of your backend and its logic implementation, you can keep your software catalog up to date by sending API requests or ingesting new data that is tied to the performed action (for example, adding a new service entity in Port once the scaffold process has finished).
See Set up backend for instructions and examples.

Optional Step - ✋🏼 set guardrails
Port supports a variety of ways to add manual approvals, policies, and TTL to actions, to ensure that organizational standards are met.
See Set actions RBAC for instructions and examples.
Execute the action
Self-service actions can be executed from the following locations:
-
The self-service page of your portal.
-
Certain dashboard widgets that can be added to your homepage or catalog.
-
Actions that are tied to a specific blueprint can be executed directly from any entity page that is based on that blueprint.
For example, the following page of an entity of typeservicedisplays a list of actions that can be executed on that entity:
When executing an action from the UI, a JSON mode toggle is available, allowing you to view and edit the action's inputs in JSON format.
Note that this toggle will not be available when executing an action that has multiple steps.
Reflect action progress
After executing an action, Port allows you update its state and progress, using a success/in-progress/failure status, live logs, ChatOps notifications, friendly and indicative error messages, and more.
See Reflect action progress for instructions and examples.
Action JSON structure
The basic structure of a self-service action looks like this (see key descriptions below):
{
  "identifier": "unique_id",
  "title": "Title",
  "icon": "iconIdentifier",
  "description": "Action description",
  "trigger": {
    "type": "self-service",
    "operation": "CREATE",
    "userInputs": {
      "properties": {
        "property1": {
          "type": "string",
          "title": "Property title",
          "default": "default value"
        },
        "property2": {
          "type": "number",
          "title": "property title",
          "default": 5
        }
      }
    }
  },
  "invocationMethod": {
    "type": "WEBHOOK",
    "url": "https://example.com",
    "agent": false,
    "synchronized": false,
    "method": "POST",
    "headers": {
      "RUN_ID": "{{ .run.id }}"
    },
    "body": {
      "property1": "{{ .inputs.property1 }}",
      "property2": "{{ .inputs.property2 }}"
    }
  }
}
| Field | Description |
|---|---|
identifier | The action's unique identifier. |
title | The action's title. |
icon | The action's icon. |
description | A description that can be used to explain the action to users. |
trigger | An object containing data about the action (see next rows of this table). |
trigger.type | The action's trigger type. Should be set to self-service. |
trigger.operation | The operation type of the action: CREATE, DAY-2 or DELETE. |
trigger.userInputs | An object containing the action's inputs and their metadata. See User inputs for more information. |
trigger.condition | An object containing conditions that determine which entities the action will be available for. |
invocationMethod | Defines the type of backend the action will use. See invocation method for more information. |
requiredApproval | A boolean value that determines whether the action requires approval or not. |
Examples
For complete examples of self-service actions using GitHub as the backend, check out the guides section.