Setup frontend
After selecting the blueprint you want to add an action to, we need to define the action's frontend - its structure and interface.
This is done in the first two tabs of the action creation form in Port's UI:

Click here for a reminder of an action's JSON structure.
Basic details
Here we will define the action's title, icon, and description.
We will also choose the action's operation type:
- Create - the action will result in the creation of a new entity in Port by triggering a provisioning process in your infrastructure. Since these actions create a new entity, they are not tied to an existing entity in your software catalog.
- Delete - the action will result in the deletion of an existing entity by triggering delete logic in your infrastructure.
- Day-2 - the action will trigger logic in your infrastructure to update or modify an existing entity in your catalog.
Actions can (but do not have to) be tied to a specific blueprint. Selecting a blueprint will allow you to easily execute the action on entities created from that blueprint.
Conditions
The condition field allows you to define rules using Port's search & query syntax to determine which entities the action will be available for.
- Since conditions require an existing entity to evaluate, they are only available for actions with
DAY-2orDELETEoperations. - For the same reason, the action must be tied to a blueprint (see above).
The following example shows a condition that will make the action available only for entities with a property named environment that has the value production:
{
  "type": "SEARCH",
  "rules": [
    {
      "operator": "=",
      "property": "environment",
      "value": "production"
    }
  ],
  "combinator": "and"
}
Note that the combinator field can be set to and or or, to define how multiple rules should be combined.
User form
Port allows you to create a wizard-like experience for your developers by utilizing a variety of input types they will need to fill, while also including input validations.
See the user inputs page for more details about the available input types.
Steps
In cases where an action contains a large number of inputs, you may want to break the form into multiple steps. Users executing the action will see and fill each step at a time, which can help guide them through the process and make the action easier to understand.
In the UI, after creating at least one input, a + Step button will appear:
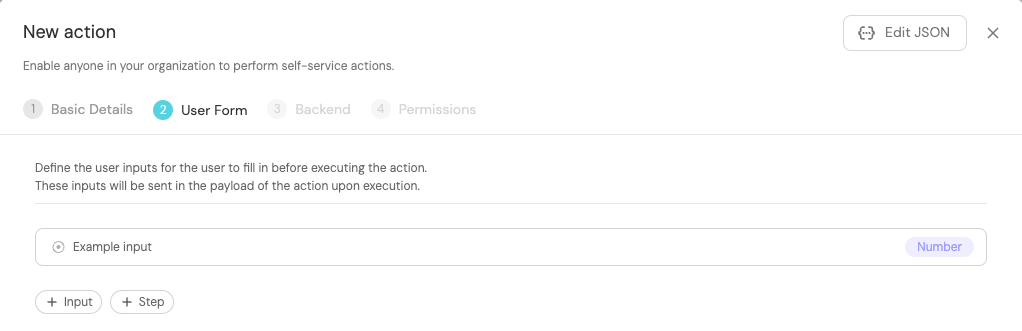
Each step can contain multiple inputs, and you can define as many steps as you need.
When a user executes the action, he/she will see the steps and their inputs in the order they were defined:
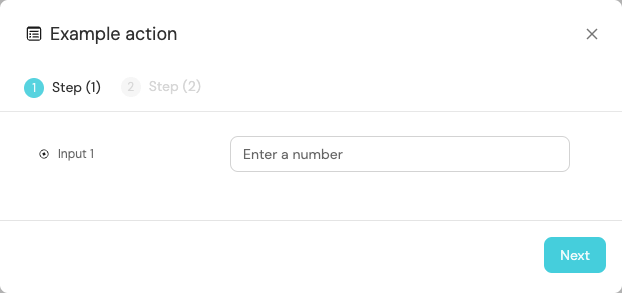
After clicking Next, the form will move to step 2, requiring the user to fill the inputs defined in that step
Advanced configurations
You can define more advanced forms with dynamic fields that change according to your data or other inputs in the form.
See advanced input configurations for more information and examples.
Next step
Once the frontend is set up, we will move on to the action's backend configuration.