Launch
Now that you have completed setting up the components to implement your MVP, you are ready for the exciting part - launching the portal to your users 🚀
When launching, it's important to ensure that your portal is user-friendly, easy to navigate, and provides clear value to your users.
This page will help you prepare for a successful launch by organizing your portal and creating components that will allow your users to easily find the information they need.
Create a detailed homepage
- Add a detailed homepage to your portal with a readme that explains the purpose of the portal, the available self-service actions, and how to use them.
- Use the homepage to communicate announcements, updates, initiatives, and other important information to your users. This can also be done using a markdown widget.
- Create useful visualizations that display data relevant for the logged-in user.
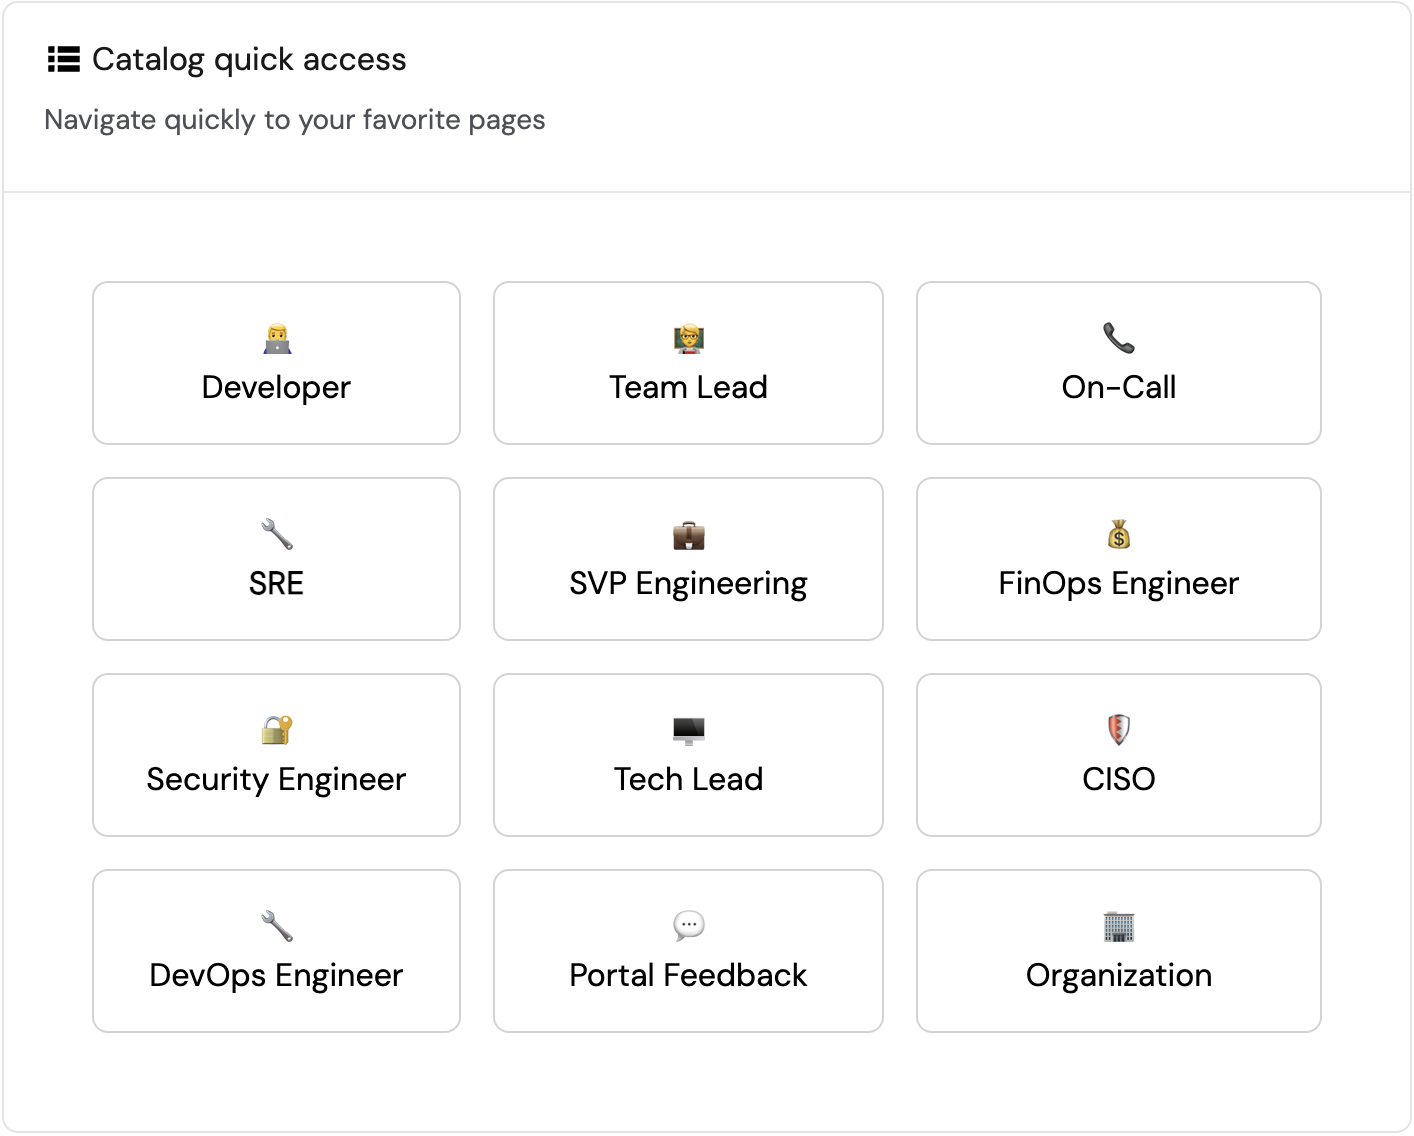
- Create a quick-access widget for links to useful pages, like the one in Port's live demo:

Organize the software catalog
- Use folders in the software catalog to organize resources by persona, team, or any other relevant criteria.
- Create additional catalog/dashboard pages for different personas in your organization.
- Show/hide columns in catalog pages to reduce visual clutter and make it easier for users to focus on the information they need.
- Organize specific entity pages:
- Show/hide properties.
- Show/hide related entities.
- Create dashboards for specific entities.
Enable user feedback
Create feedback components in your portal:
-
A self-service action to report issues and request features.
An implementation of this action can be found in Port's live demo. -
A dashboard for the platform engineering team to track and handle feedback.
An example of such a dashboard can be found in Port's live demo.
Plan for ongoing maintenance and updates
- Create a process for updating the portal with new integrations, blueprints, and features.
- Set up automations to notify users about new features, updates, and changes to the portal.