Catalog page
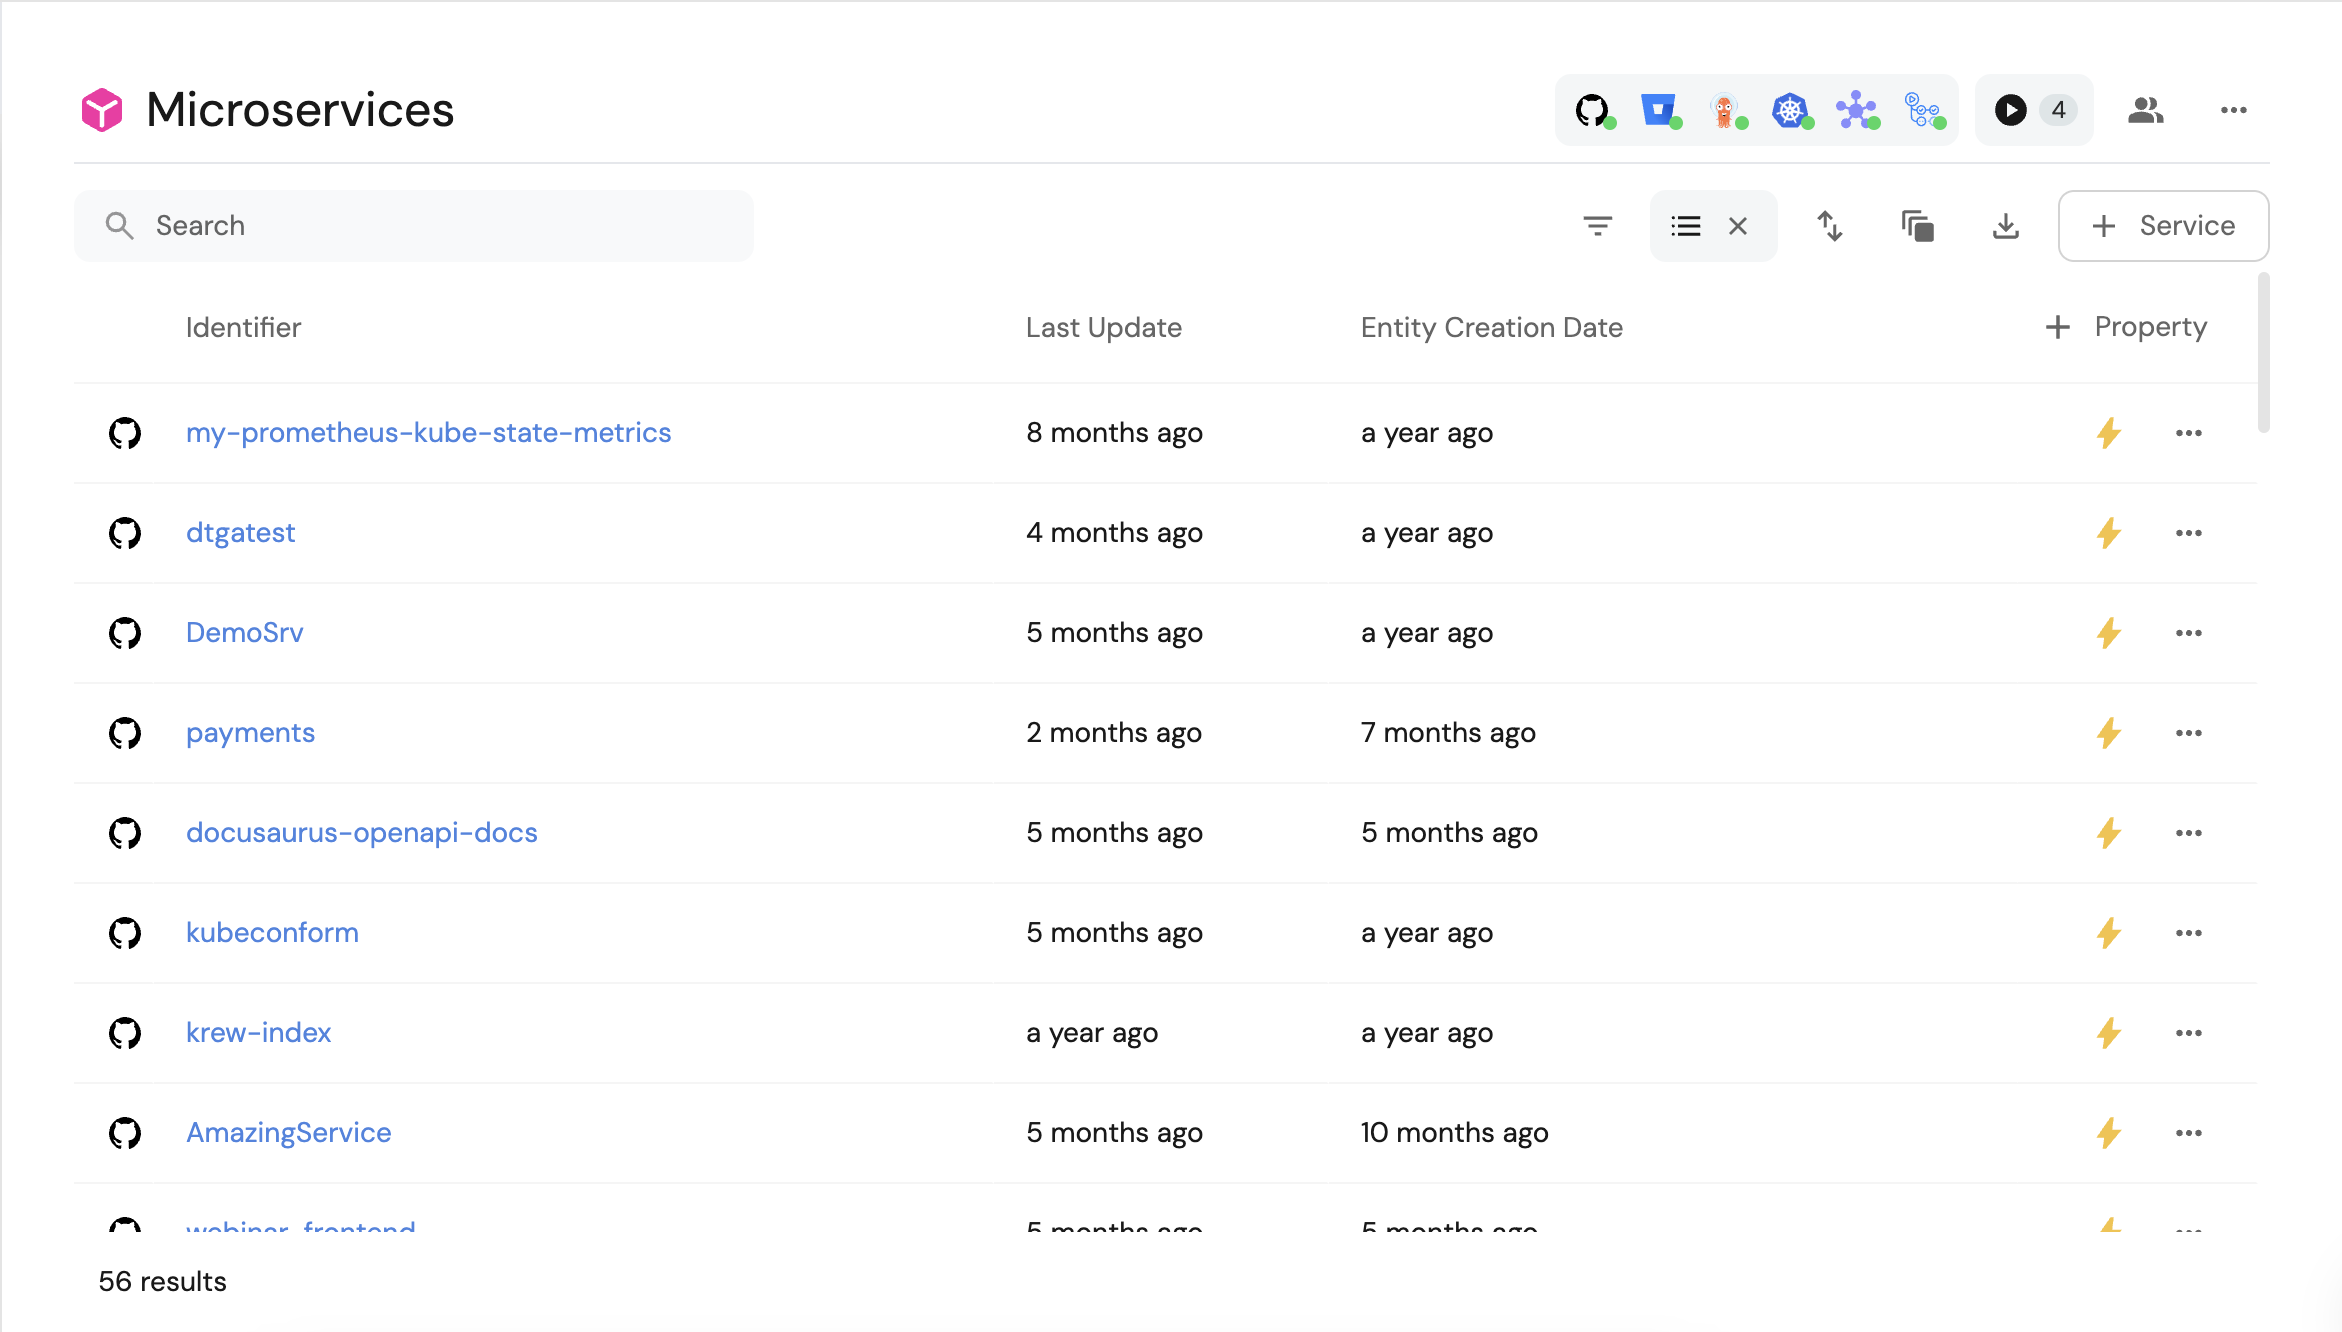
A catalog page displays a table of all existing entities created from a blueprint.
In this example we can see all of the microservice entities we created from the microservice blueprint:
Page creation
When a blueprint is created, a catalog page is automatically generated in the Software Catalog.
You can also manually create additional catalog pages for any existing blueprint, and customize them as you wish. Read on to see the available customization options.
- From the UI
- From the API
- From Pulumi
To create a new catalog page, go to your Software Catalog, click the + New button in the top left corner, and select New catalog page.
See all the available API fields here.
{
   "identifier":"my_catalog_page",
   "title":"Our Services",
   "blueprint":"service",
   "icon":"Microservice",
   "widgets":[
      {
         "id":"46bf2483-97b7-4c6f-88fb-8987c9875d98",
         "type":"table-entities-explorer",
         "excludedFields":[
            "properties.readme",
            "properties.slack"
         ],
         "dataset":{
            "combinator":"and",
            "rules":[
               {
                  "operator":"=",
                  "property":"$blueprint",
                  "value":"{{blueprint}}"
               }
            ]
         }
      }
   ],
   "type":"blueprint-entities",
   "showInSidebar":true,
   "after":"githubRepositories"
}
See all the supported variables in the Port Pulumi documentation
- Python
- Typescript
import json
from port_pulumi import Page

catalog_page = Page(
    "my-catalog-page-resource",
    identifier="my_catalog_page",
    title="Our Services",
    blueprint="service",
    icon="Microservice",
    type="blueprint-entities",
    widgets=[
        json.dumps(
            {
                "displayMode": "widget",
                "title": "Services",
                "type": "table-entities-explorer",
                "dataset": {
                    "combinator": "and",
                    "rules": [
                        {"operator": "=", "value": "service", "property": "$blueprint"}
                    ],
                },
                "id": "servicesTable-en",
                "excludedFields": ["properties.readme", "properties.slack"],
            }
        )
    ],
)
import * as pulumi from "@pulumi/pulumi";
import * as port from "@port-labs/port";

const catalogPage = new port.Page(
    "my-catalog-page-resource",
    {
        identifier: "my_catalog_page",
        title: "Our Services",
        blueprint: "service",
        icon: "Microservice",
        type: "blueprint-entities",
        widgets: [
          JSON.stringify({
              displayMode: "widget",
              title: "Services",
              type: "table-entities-explorer",
              dataset: {
                  combinator: "and",
                  rules: [
                      { operator: "=", value: "service", property: "$blueprint" }
                  ],
              },
              id: "servicesTable-en",
              excludedFields: ["properties.readme", "properties.slack"],
          })
        ]
    }
);
By default, the table in a catalog page will display the following columns for each entity:
Identifier, Last update time, and Creation time.
Other properties will be hidden by default.
You can always customize the table to hide/show columns.
Description
You can provide additional context to your developers by using the Description field when creating a catalog page.
This field supports adding links in markdown format: [link text](https://www.address.com).
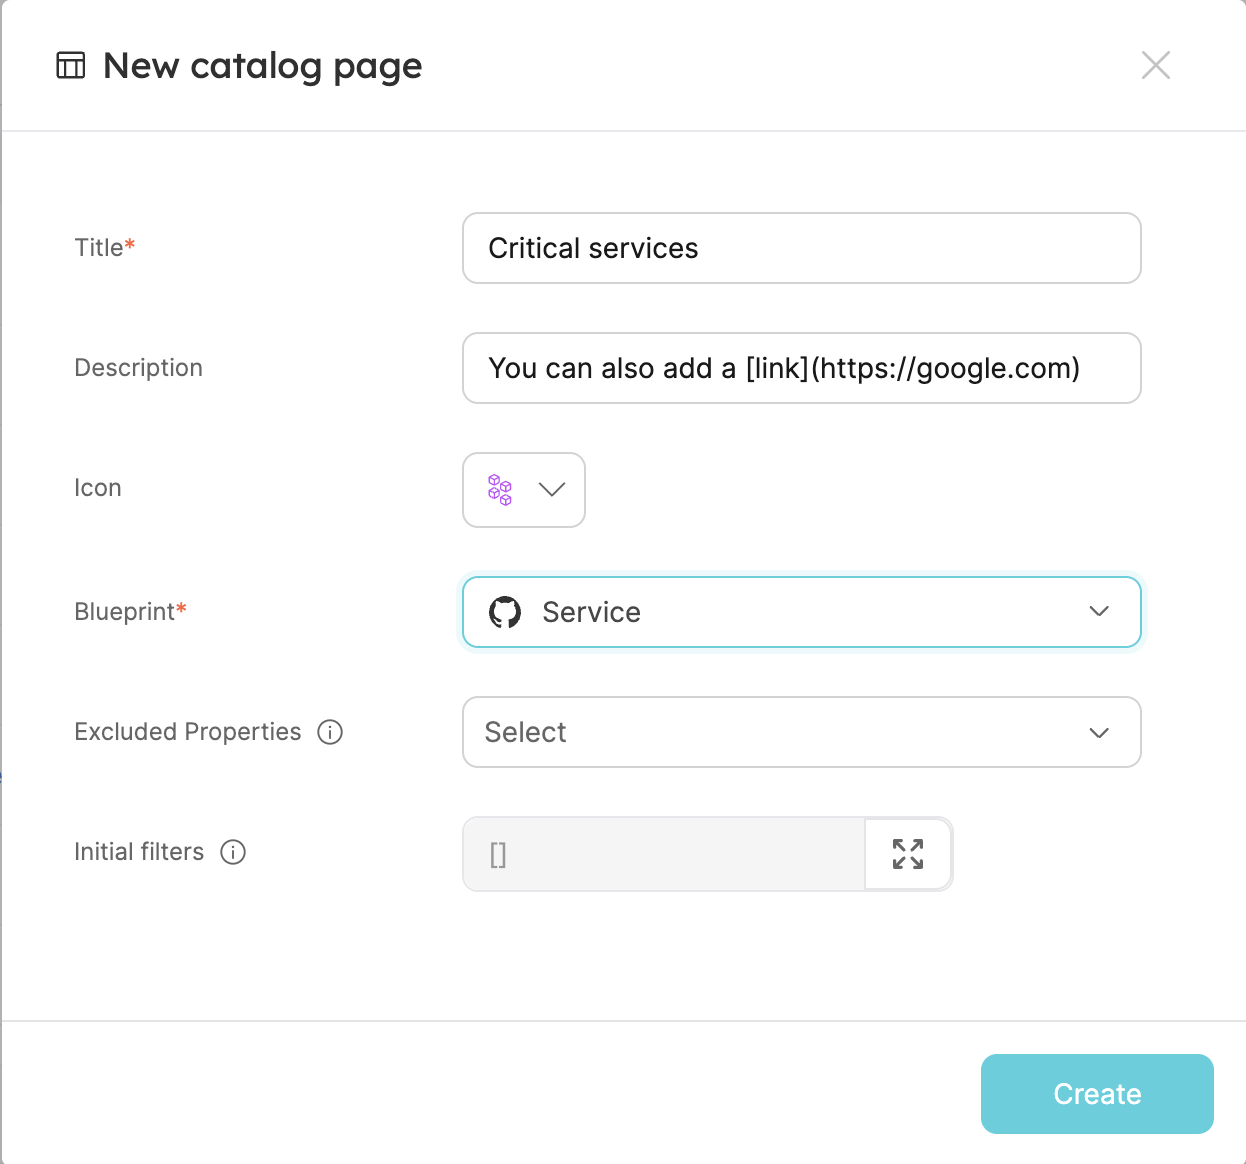
The description will be displayed at the top of the page, under the page title:

Initial filters
In some cases, an entities table may be very large, resulting in long loading times. To prevent this, you can define filters that resolve when Port queries the data (rather than after querying).
To define such a filter, use the Initial filters field when creating a page:
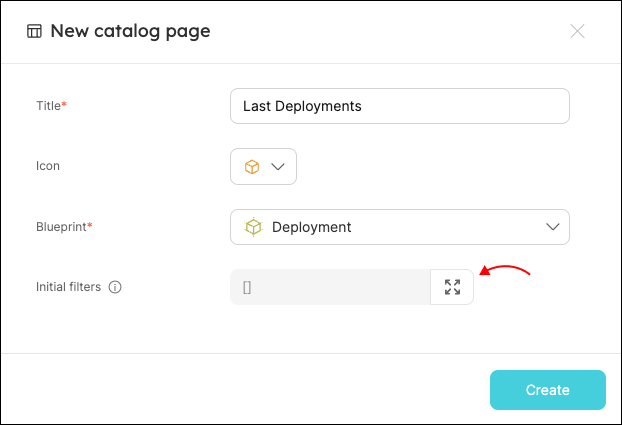
You can define any supported rule in JSON format. Here is an example that will only display Deployments that were updated in the past month:
[
  {
    "property": "$updatedAt",
    "operator": "between",
    "value": { "preset": "lastMonth" }
  }
]
Dynamic filters
You can use dynamic properties of the logged-in user when creating a catalog page.
Excluded properties
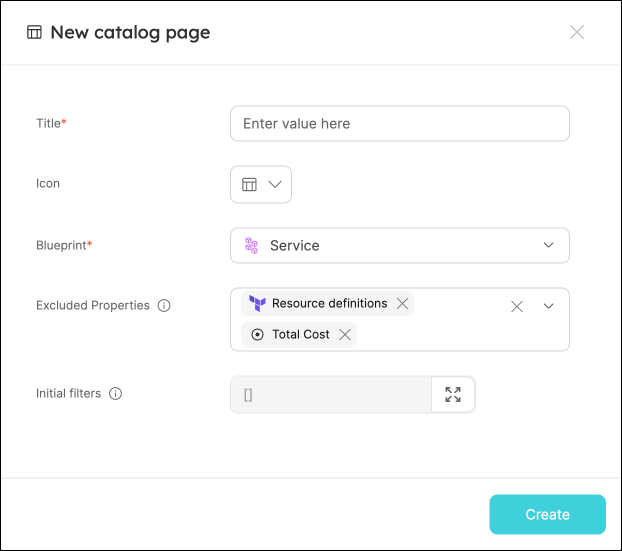
Another way to reduce loading times is to exclude undesired properties from an entities table when querying the data. When using this option, the new table will not contain columns for the excluded properties.
To do this, use the Excluded properties field when creating a page:
Customization
The entities table can be customized, which will define the users' view of the Port platform.
We highly recommend using these customizations to provide a clean and accurate view of the platform for your developers.
All table customizations are available on the top bar of the table:

Filter
You can filter the table by using the following menu:

You can define any filtering operator with a suitable value.
You can filter one or more values while setting the relation between each field with a And/Or.
My Teams filter
By using the My Teams filter you will only see entities that belong to one of your teams. This means you will only see entities from teams that you are a member of.
This filter works on:
stringproperties with the formatteam.- The meta property
Team.

Me filter
By using the Me filter you will only see entities that belong to the logged-in user.
This filter works on User properties.

Sort
You can sort the table by using the following menu:

You can sort by one or more fields of any kind.
To sort a specific column, click on the column title.
Hide/show columns
You can show/hide properties by using the Manage Properties option in the top-right corner of the table:
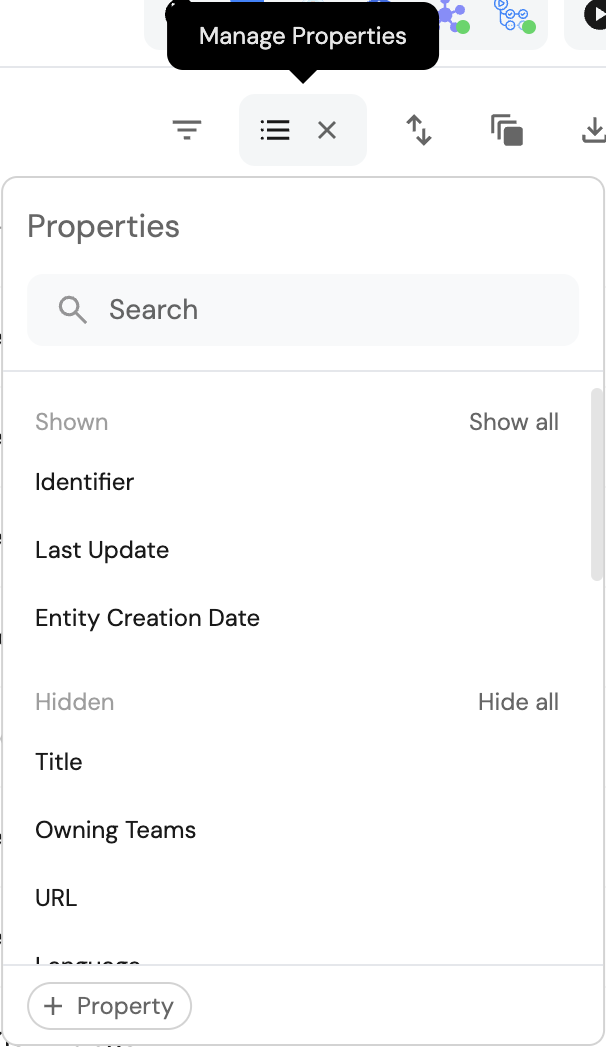
You can also drag and drop the properties in this view to reorder them in the table.
We highly recommend hiding irrelevant data from users, to provide them with a clean work environment, relieving them from any distractions.
Manage properties
You can add, edit, or delete a blueprint's properties directly from the table by using the Manage properties button.
See the Configure properties section for more details.
Group by
You can group table entities by a specific property using the following menu:
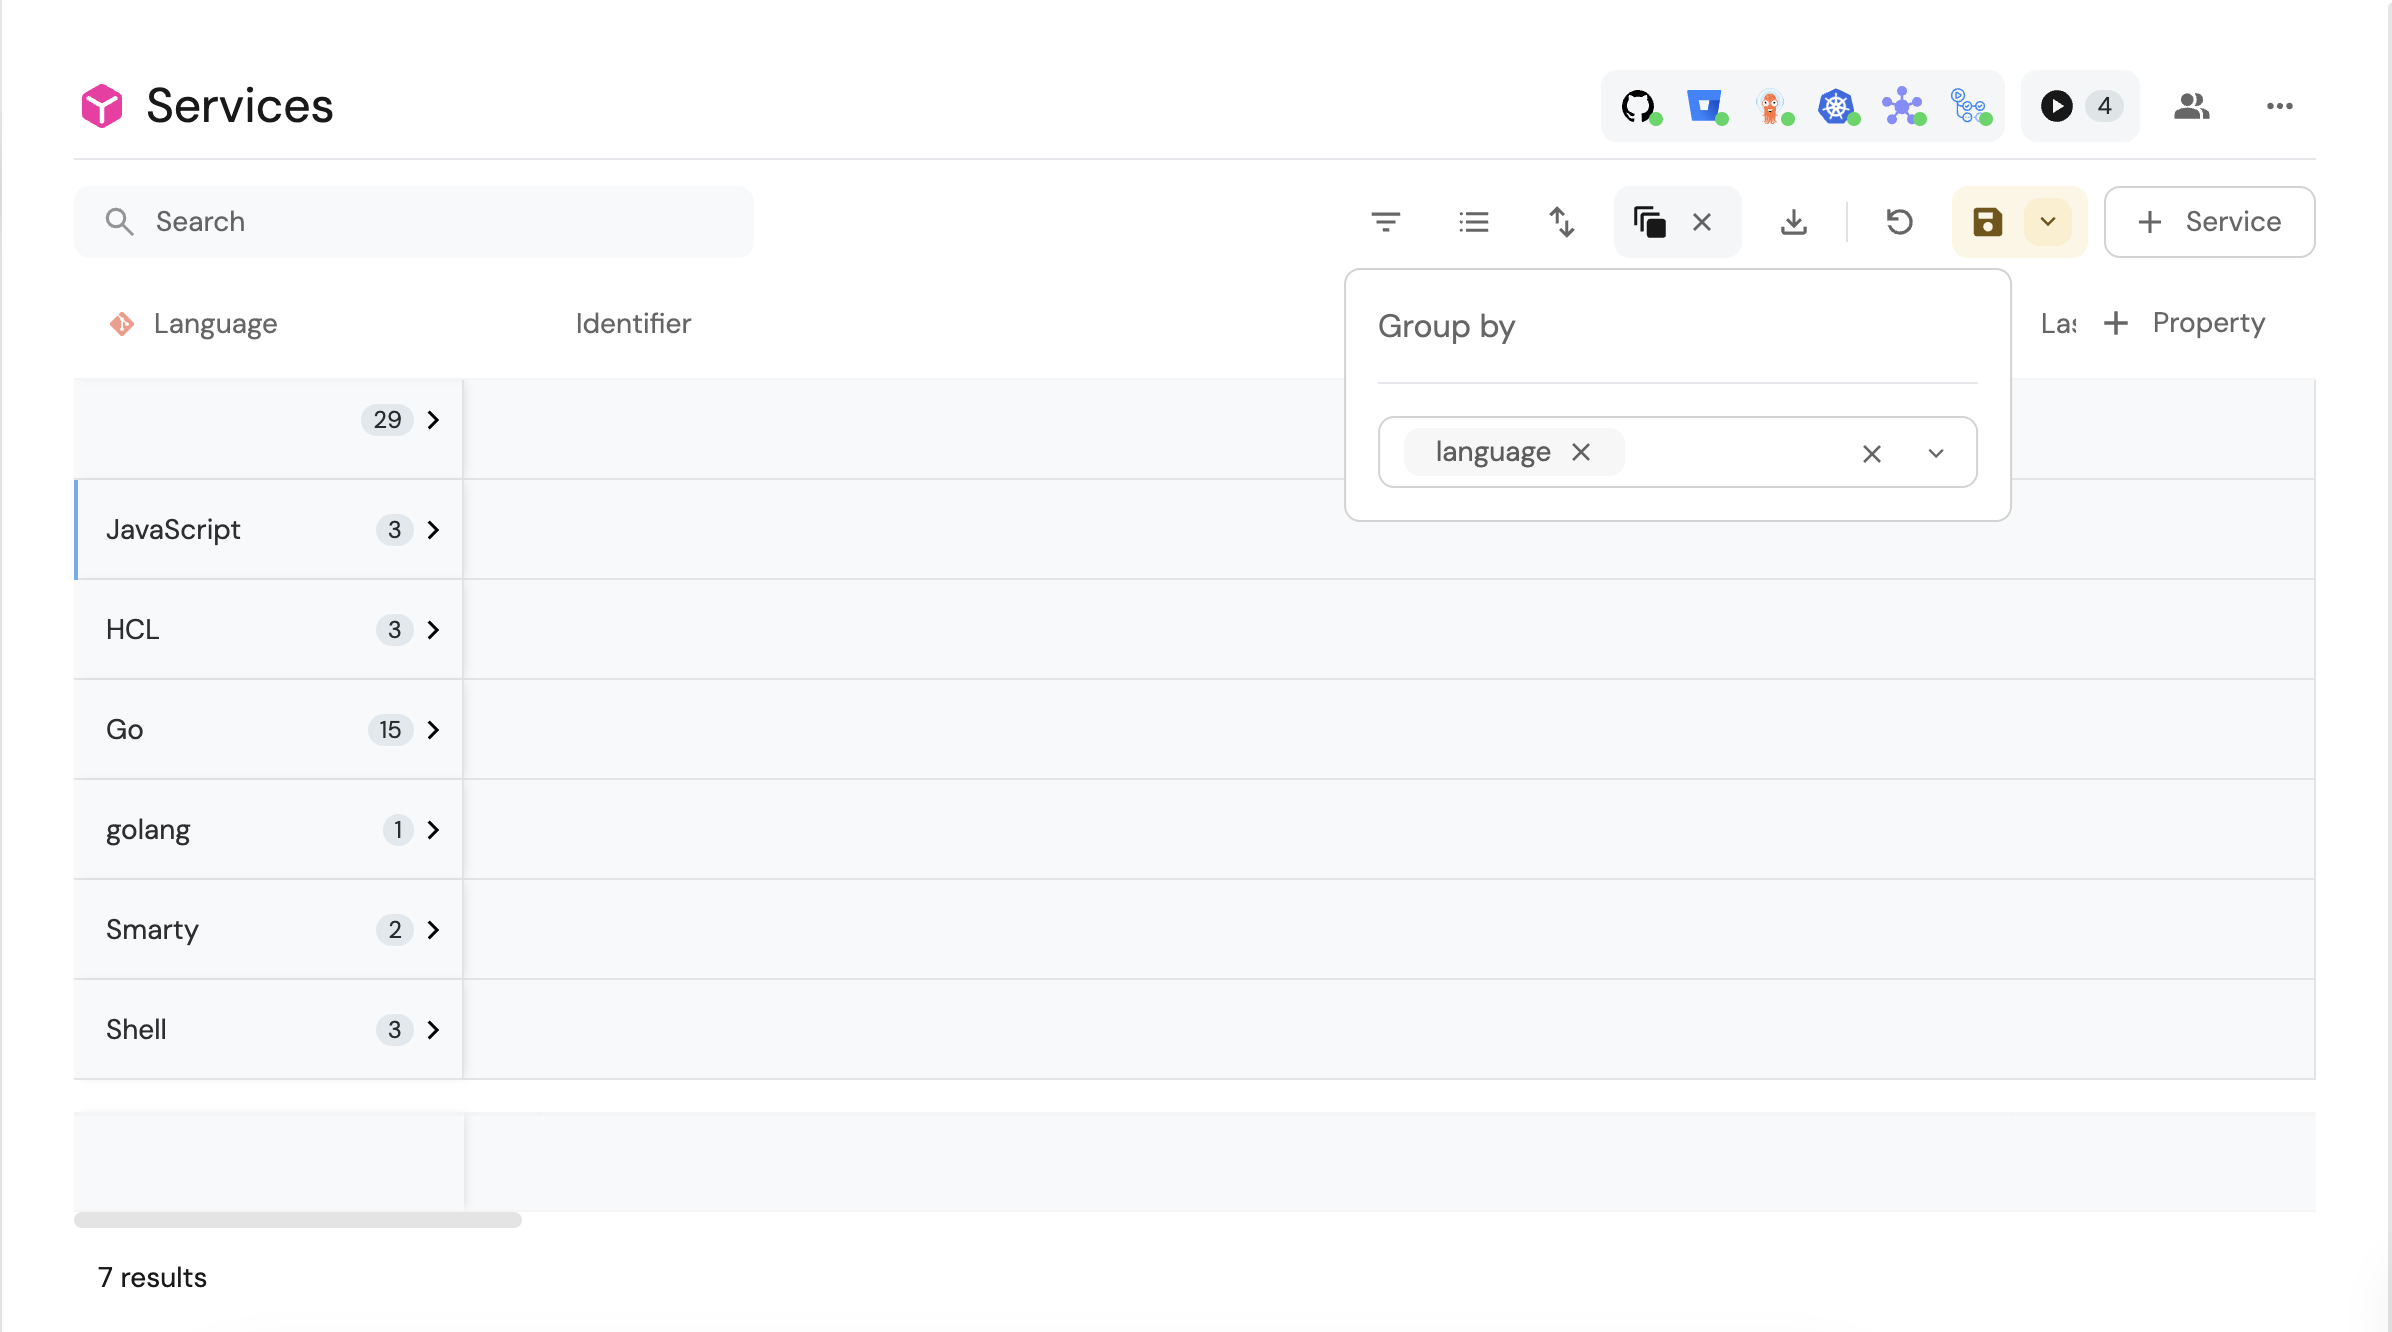
You can group entities by any non-array property.
The group-by option is useful when you want to create custom views for users, such as "microservices by owners".
Just create your group-by view (and any other table customizations you desire), and save as a new page.
Search
Port provides a free-text search option on tables. This will search all of the entities' properties and display the entities that match the query.
If the query contains multiple words, entities that contain all of these words will be displayed, even if they are spread across different properties.

-> Explore how to control page visibility and permissions
Page operations
Pages have a set of operations that can be performed from the UI.
A default catalog page is automatically created when a new Blueprint is created. This page is directly tied to its Blueprint, meaning that if the blueprint is deleted, the default page will be deleted as well.
You can still edit or delete a default page if you'd like.
It's possible to filter, sort, group by, and use the table widget controls to change the layout of the default page.
Save a view
Since the main component of a catalog page is a table, the same rules apply to it.
When you customize a table by filtering, sorting, or hiding columns, the changes will be automatically saved for you in the browser's local storage. If you log out and log back in, the table will display the same view you left it in.
Additionally, any such change will cause a Save view button to appear in the top right corner of the table:

Using this button, you can save the new view for all users in your organization.
The revert(↺) button next to it will revert the table to the last saved view.
The ability to save a view for all users is available only for the Admin role.
To save the view for all users as a new page, click the small arrow on the right side of the button:

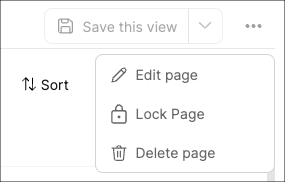
Edit, lock or delete a page
You can edit, lock or delete a page by clicking the ... button in the top right corner:
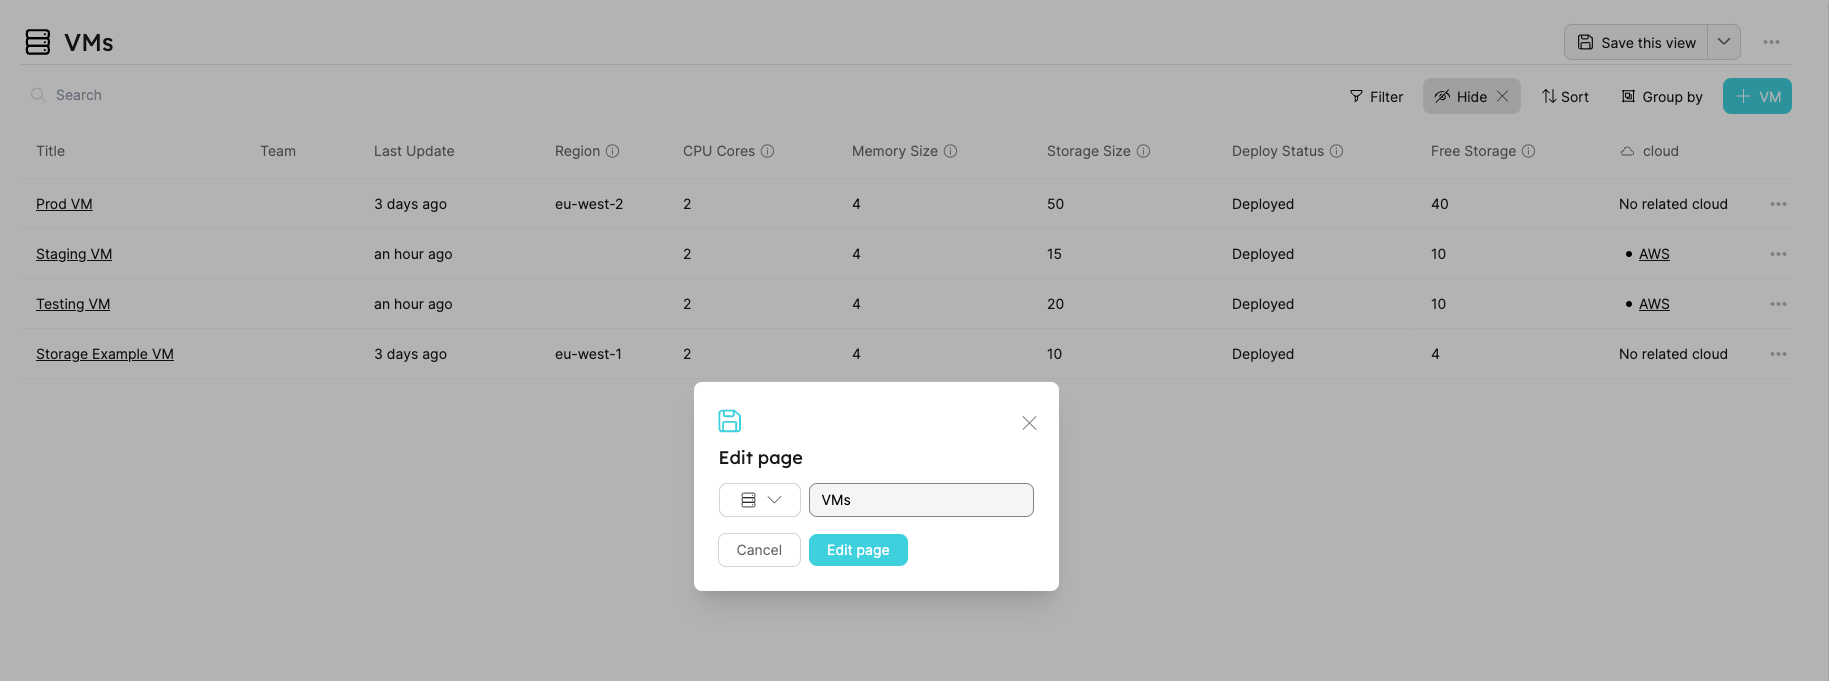
Editing pages
Editing a page allows you to change its name and/or icon:
Locking pages
Locking a catalog page disables the option to hide columns or apply filters to modify the displayed data.
Locking pages gives you a way to specifically curate pages to your developers' needs. This ensures that they can't modify the views or see data that isn't relevant to them.
To learn how to lock pages, refer to page permissions.
Deleting pages
Any page (whether created automatically or manually) can be deleted by clicking the Delete page button.
When deleting a blueprint from your portal, all pages tied to that blueprint (including the default page that was created for it) will be deleted as well.